Your All-in-One Website Speed Optimization Guide: How to Speed Up WordPress
Learning a thing or two about website speed optimization can go a long way. Figuring out how to speed up WordPress is going to not only make your visitors happy but also convince Google that yours is the website that should rank above the competition.
In this guide, we reveal all you need to know about website speed optimization and show you how to speed up WordPress step by step.⚡
1. Do a speed test
The no.1 thing you should do is find out what your baseline is – how fast and how optimized your site is at the moment.
You can use a couple of tools for this:
- Pingdom Tools
- GTmetrix
- PageSpeed Insights
Pingdom
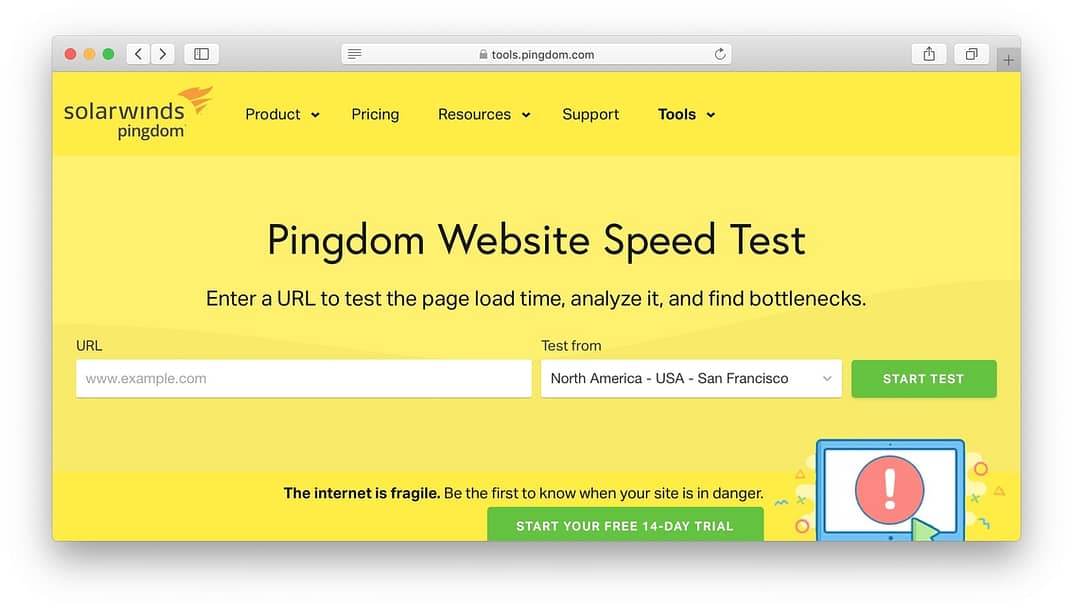
Pingdom is straightforward to use. Just input your site's URL, pick a testing location (usually a location that's the nearest to where your target audience is), and click on START TEST.
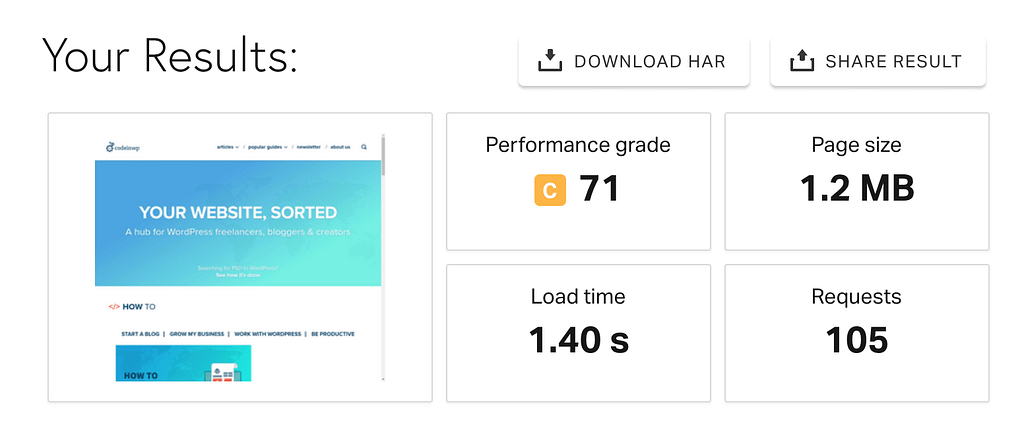
Pingdom will show you several metrics regarding your site's speed, and also some tips on the things you can do to improve these results.
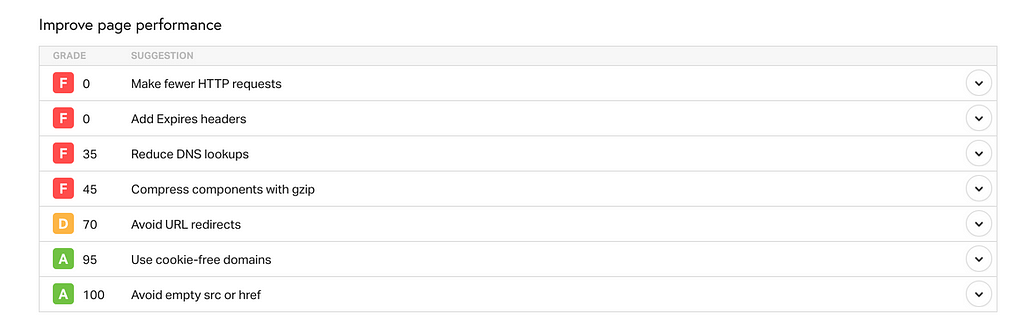
Keep this screenshot for reference – and come back to it later to see how much you've managed to optimize your site.
GTmetrix
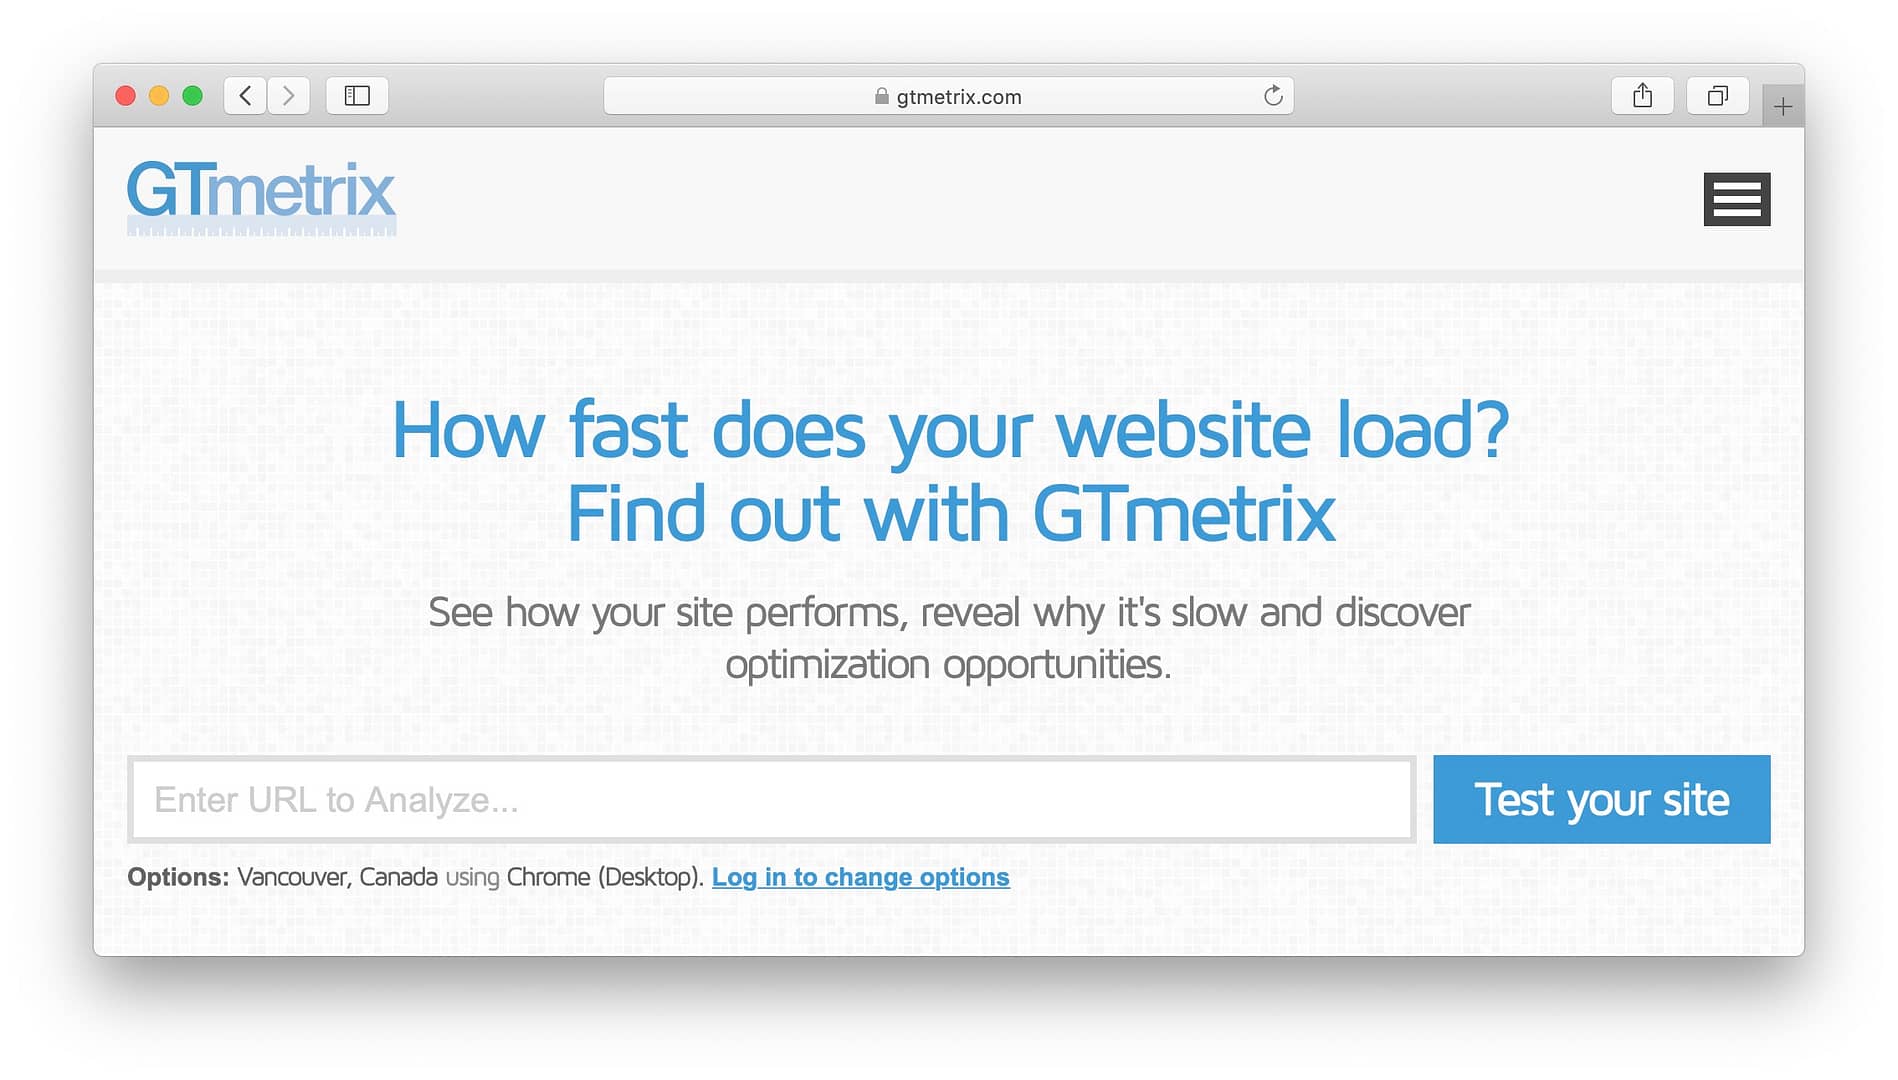
GTmetrix is another popular website speed tool that's going to show you all sorts of insights on your site's performance.
To use the tool, just enter your site's URL into the main box and click on Test your site.
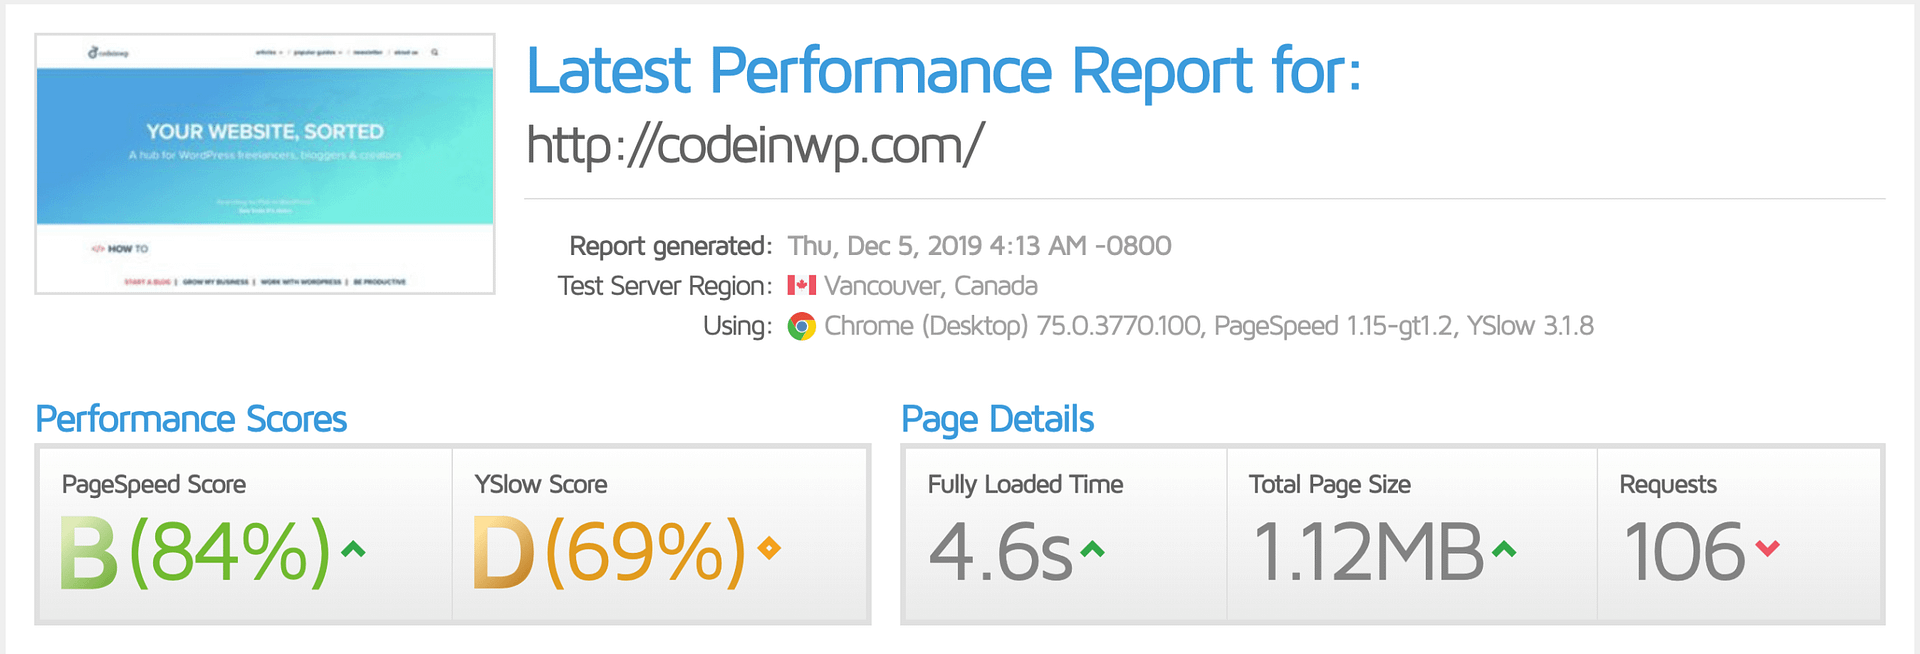
Similarly to Pingdom, GTmetrix also gives you a big list of metrics, scores, and suggestions as to what you can do to improve your site speed. For now, again, all you need is the main screenshot.
PageSpeed Insights
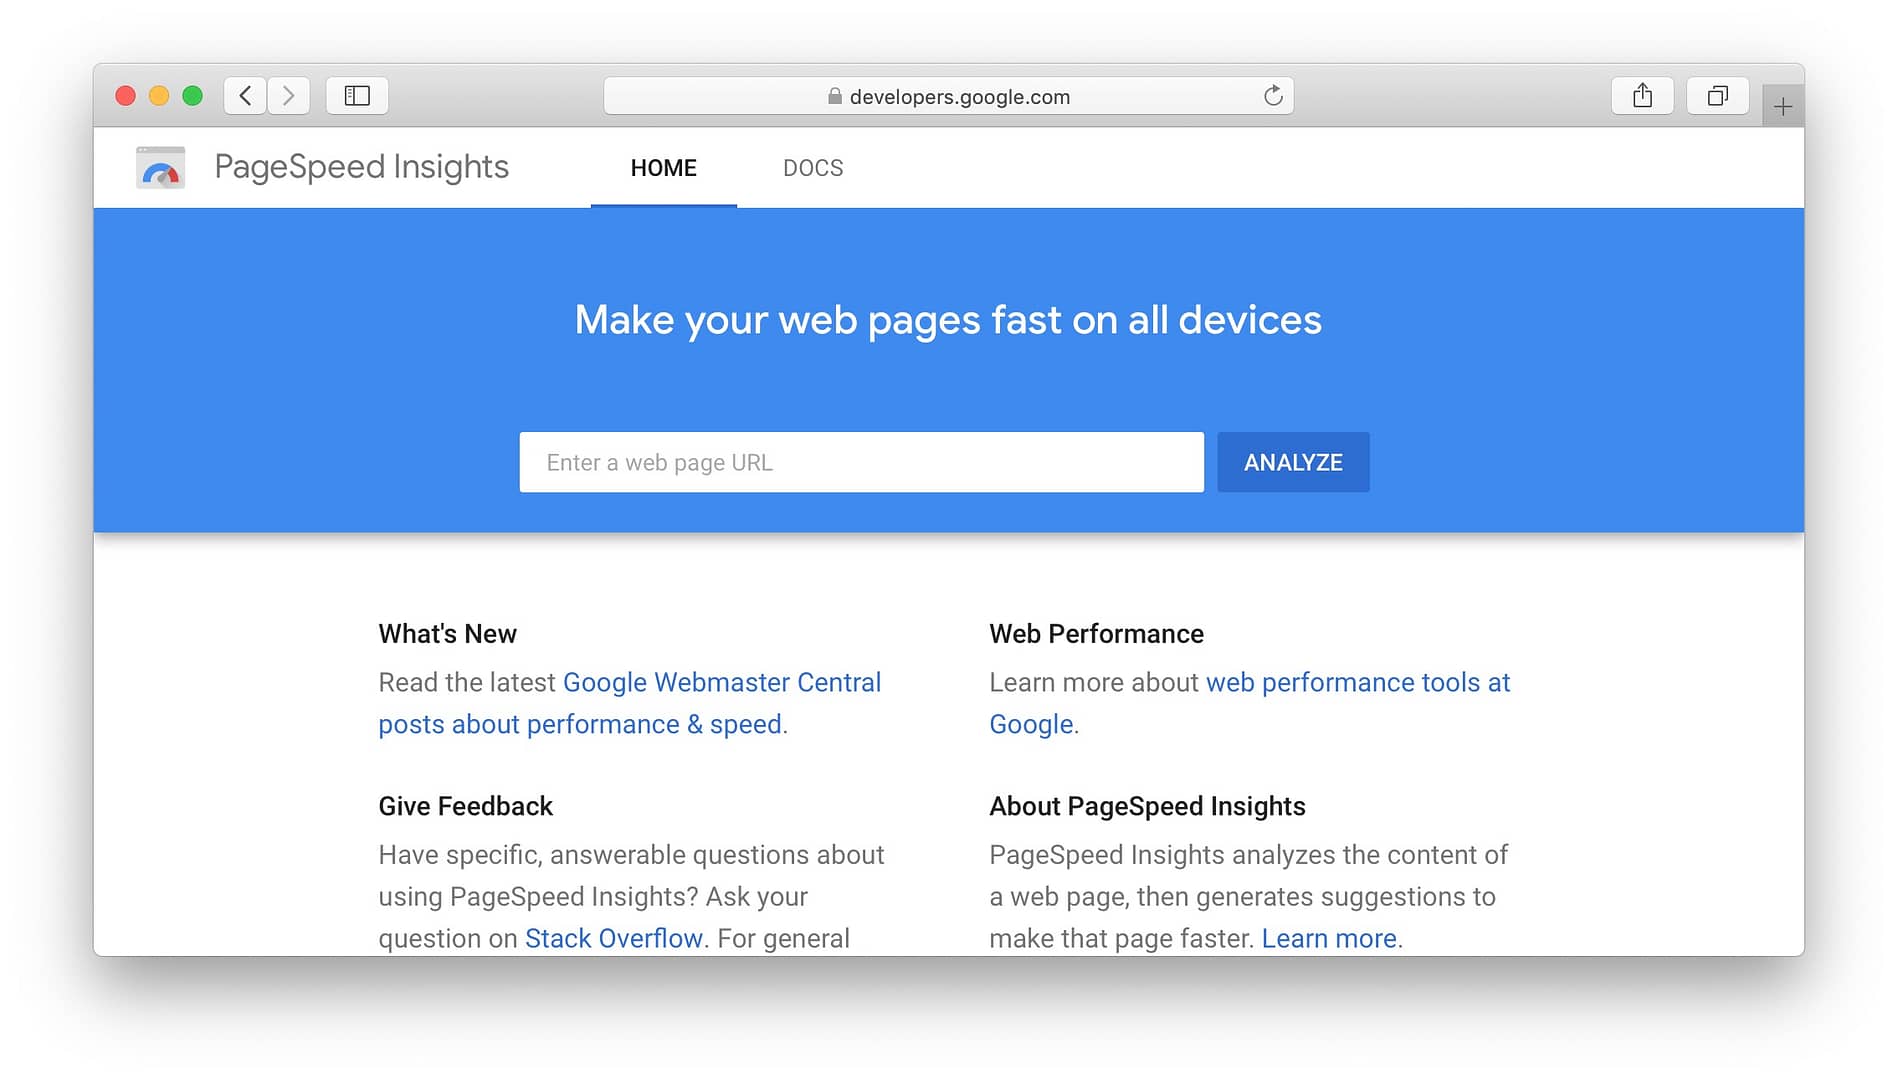
PageSpeed Insights is Google's own tool to help webmasters make their sites faster and more optimized.
Using the PageSpeed Insights works just like the two tools above – input your site's URL and click on Analyze.
After a minute or so, you'll see your score. What's different about the results page this time, though, is that Google divides your results into two sections, for mobile and desktop.
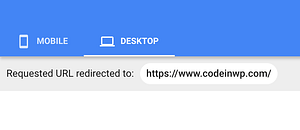
Make a screenshot of each results page, and also read through the suggestions given by Google as to what you can do to improve your score.
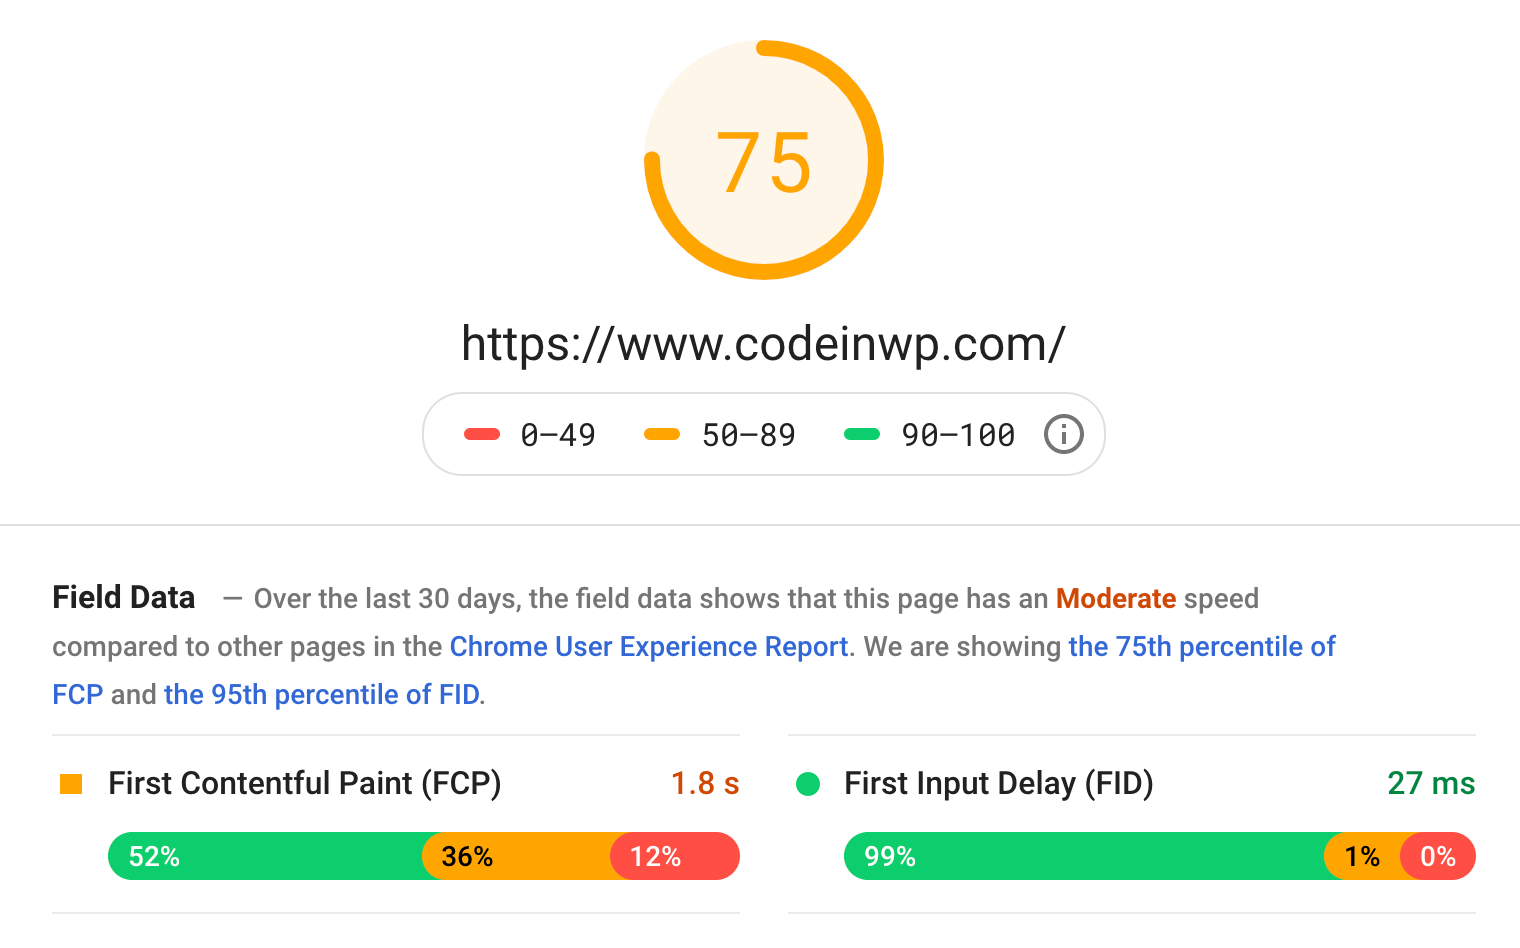
The sole fact that this is a tool developed by Google themselves means that we should pay special attention to what it says. After all, Google is the company that ranks your site based on the various metrics it measures.
2. Start with your web host
This is a biggie.
Sorry if this sounds too basic at first, but this really is the no.1 thing you should do with website speed optimization.
The fact is that no matter what we do with your site after this step, it will all be in vain if your host is subpar.
Here's why:
To say it simply, your web host is the computer where your website is stored and from where it can be accessed by people – your visitors.
If that computer is not optimized or is hooked up to a slow internet connection, then your visitors won't be able to see your site load in a reasonable span of time.
Basically, website speed optimization (or learning how to speed up WordPress) is like speeding up your car:
🚗→🏎️ You can do a lot of things to make your car go faster. You can add some spoilers, you can remove the rear seats. You can even lose weight yourself to make the whole vehicle+driver tandem lighter. However! The best thing you can really do is get another car with a bigger and more powerful engine. As simple as that.
Web hosting is like the engine of your website.
Okay, but how to actually find a quick host, and should you even bother changing hosts? It seems like a hassle, right?
You can do a couple of experiments yourself:
Review web hosting tests done by other people
Countless industry websites have already gone through the trouble of buying and then testing all (or most) of the popular web hosts in the market in their own quests to website speed optimization. Why not take a look at what those tests reveal?
For instance, you can start with this one: a comparison chart of the most popular web hosts. The fourth table from the top shows you the performance metrics of the hosts:
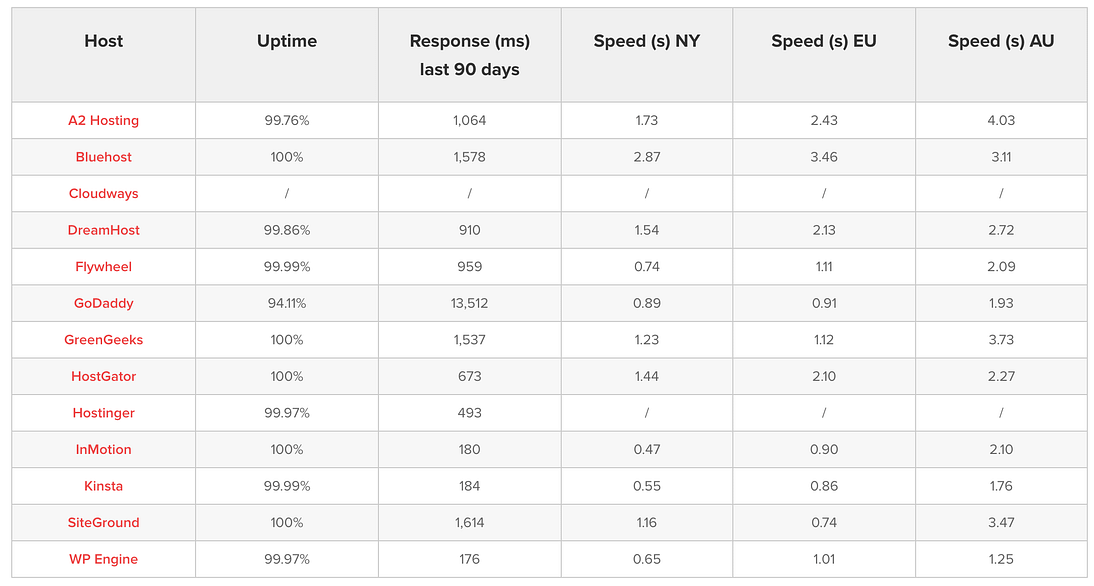
(Higher uptime is better; lower response times and speeds are better.)
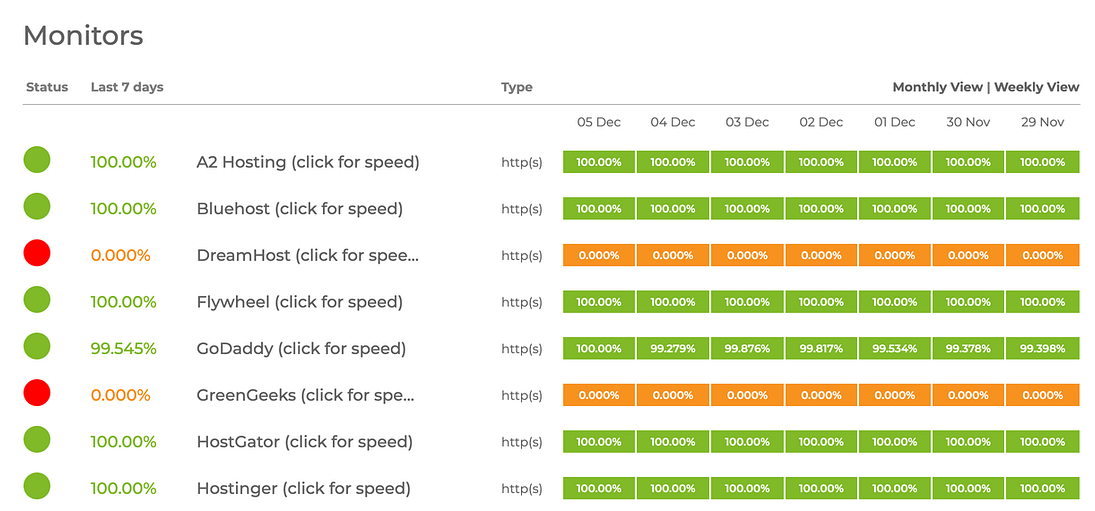
Also, here, you can find a live stats page where ten different hosts are being tested in real-time.
If your current host doesn't look that good compared to the competition, consider switching.
But isn't switching hosts a hassle?
Not quite. Every respectable hosting company offers free website migrations, so you have to worry neither about moving the site yourself nor about having to pay for it. The new host will handle the entire process for you.
Which hosts do we recommend for website speed optimization?
- 💪 SiteGround is a great all-around host for WordPress sites. They offer good performance, great support, and are very affordable (from $3.95 / month).
- ⭐ Kinsta is a more premium WordPress host (from $25 / month), but they do give your site much room to grow and offer a fully managed solution (meaning that you don't have to worry about any technical aspects involved with owning a WordPress website).
3. Use an optimized WordPress theme
Your theme is going to contribute to the bulk of your overall page size and can prevent you from achieving good website speed optimization.
For instance, when you look at your site's analysis done by Pingdom, what's there in the "page size" box comes mostly from your theme. Example:
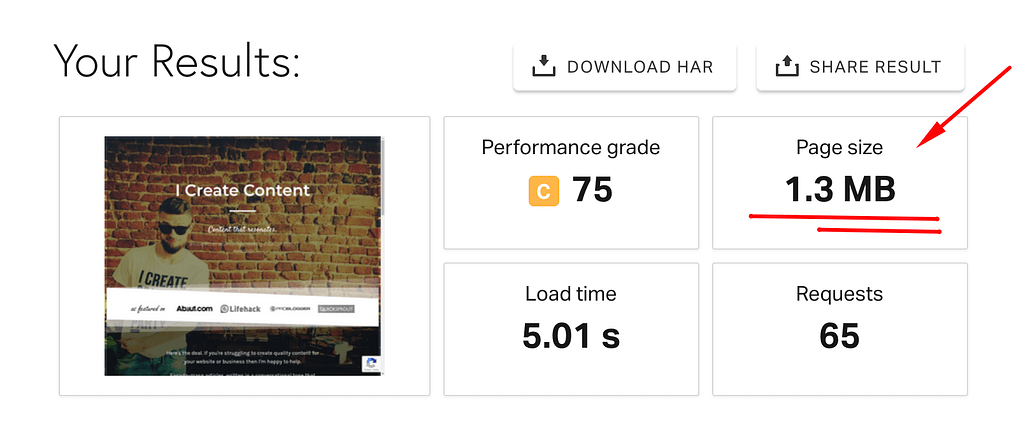
So, how to speed up WordPress? Consider getting a more optimized theme!
Of course, I realize that you probably do enjoy your current theme's design. Otherwise, you wouldn't have chosen it. But just consider the page size savings you might get with a different theme.
For starters, you can do a quick test. Go to your wp-admin, and switch to the default WordPress theme temporarily.
Note; changing your WordPress theme does not erase your content. It just changes the design of your website. You can always switch back to your previous theme and get everything looking like it used to.
To switch the theme, go to Appearance → Themes and click on Activate next to Twenty Twenty.

With the default theme activated, go back to Pingdom (and the other testing tools) and redo your tests. See if there are any improvements in your website speed optimization.
- If there's no improvement: great! This means that your theme was already quite optimized. You can reactivate and keep it.
- If there are improvements: this means that your original theme isn't as optimized. Consider switching to a different theme.
One more important thing; when doing tests with the PageSpeed Insights tool, pay close attention to your mobile results. Those are key in this day and age – there are actually more people accessing the web via their mobiles than via desktops and laptops.
If you are indeed going to be switching to a different theme, remember to redo the speed tests after the switch to verify if the new theme is indeed better.
Our recommendations:
- For a multipurpose theme with good customization abilities but also good out-the-gate design, try Neve. It's free, built by our sister company, and it's one of the most popular themes out there.
- For a customization-heavy theme that's powerful and allows you to fine-tune every little detail you see on the page, try Astra.
4. Optimize your images
When doing your speed tests with Pingdom or any other tool, you'll notice this little nugget of info:

Yes, you're reading this right, the images on your site can take up even up to 30%-85% of the entire load time.
The solution to this is simple; when working on website speed optimization, you absolutely cannot neglect to optimize your images!
There are a couple of things that go into image optimization:
- optimizing your images before uploading them to your site
- optimizing images after they're on the site
Optimize images before uploading them to your site
The biggest problem with most images that people upload to their websites is that they're simply too big.
They're "too big" in at least two ways:
- they're too big in disk size
- they're too big when it comes to their widths and heights
Let's tackle disk size first.
The best way to reduce the amount of disk space that any given image is taking up is to change to a more optimized image format.
We're going to stick to just the two most popular image formats – JPG and PNG.
Even though a PNG image and a JPG image look very much the same, they are, in fact, very different in terms of the way the actual image is stored. Let's not get into the boring technical details here, and instead just focus on what the difference is in practical terms:
- JPG images are great for all kinds of photos and graphics that feature multiple colors, color transitions, shades – a lot of color info overall.
- PNG images are great for low-color info images – this means things like interface screenshots and simple graphics.
Here's an example of an optimized JPG image:

The takeaway?
- When dealing with a photo, make sure it's saved as a JPG.
- When dealing with a graphic that has only a few colors, save it as a PNG.
You can easily save images in different formats in MS Paint, Apple Preview, Photoshop, or any other image tool. This makes your work with website speed optimization easy in this matter.
Next, let's talk about dimensions.
Your site is likely able to display only images of a certain max size. In most cases, that size is around 1200-1600 pixel wide.
Additionally, HiDPI screens, aka. Retina screens, can display images that are twice that size, so 2400-3200 px wide.
Uploading images that are any bigger than the specific Retina size of your current theme makes no sense. The only question, how to find out what's that max Retina value for your theme?
In most cases, you can go to your WordPress admin panel, into Settings → Media, and look what the value is in the Large size box; this one:
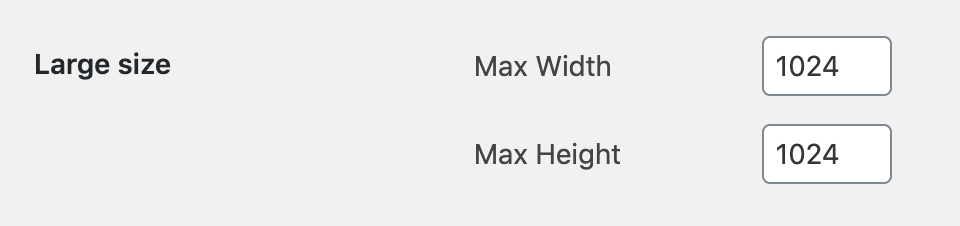
As you can see, in my case, that's 1024 px. This is the normal size. To get the Retina value, just multiply by 2.
So in my case, uploading images any wider than 2048 px would make no sense.
Note; if you want to display some images in full-width mode (taking up the entire screen) then the safe size for those would be 1920 px times 2 = 3840 px.
- 1920 is the most common full-HD resolution
- times 2 is your Retina correction
Optimize images once they're on your site
Optimizing your images before you upload them to your site is about 50% of the way to website speed optimization. The other 50% is optimizing the images once they're on the site.
We're going to do that with Optimole.
You can use Optimole for free up to 5,000 website visitors monthly, which should be enough for new websites, fledgling businesses, and personal projects.
Here are the specific things that Optimole will do for your images:
- Optimole will replace the URLs of your images and serve them through a fast CDN (more on CDNs later).
- Optimole will scale your images to make them fit whatever screen/device your visitor is using – this means that the visitor won't have to wait for an unnecessarily large image to load.
- Optimole will lazy load your images – the image will only start getting loaded once the visitor scrolls down to see it.
- Optimole will compress your images making them even smaller in disk size without impacting the visual quality of the image.
- Optimole will enable Retina images only for the devices that can support them.
The best thing is that all of that happens on autopilot. The only action you have to take is activate the Optimole WordPress plugin and validate your account. From there, Optimole will do all the magic on its own.
🚀 Here's how to install Optimole on your WordPress site in 3 steps.
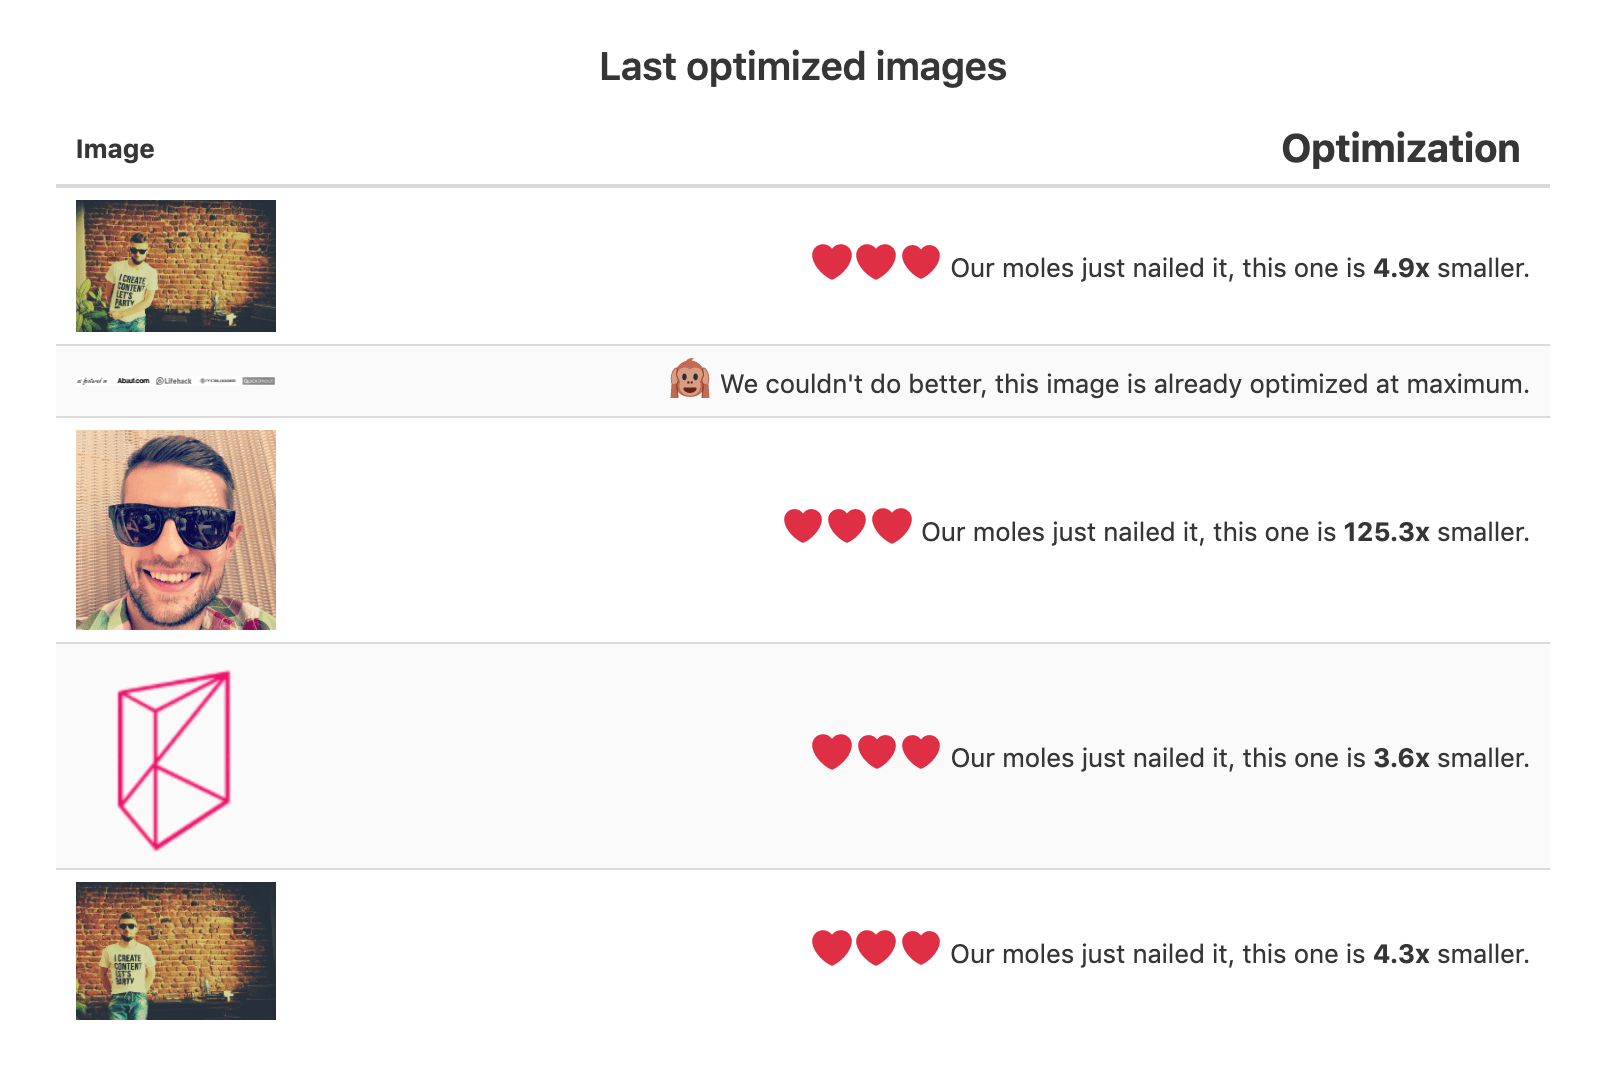
It's not uncommon to have space savings of 80% or more when using Optimole!
Here's an example screenshot showing what's going on with Optimole running:
5. Set up caching
If you know what caching is, you can skip a couple of paragraphs. If not, read on:
Let's start at the beginning. Most websites these days are not static. Meaning, instead of keeping all the content in normal files, they use a combination of web software, database engines, and what's commonly called views.
Together, those elements take care of your site's text content, files, and visual presentation.
What's great about this model is that you can efficiently manage your website – edit your content, add files, publish new entries, all that, without having to deal with the HTML files of the site.
Your website is therefore dynamic – it takes your content, puts the design around it, and then shows the result of this work to the visitor. Again, the website being dynamic means that it needs to be generated on the fly before it can be displayed.
This is where caching comes into play. ⛹️♂️
In a normal scenario, your website will be generated anew for each visitor who comes to see it.
Caching is the process of generating your website just once, storing the static final version of the site, and then showing that static version to every consecutive visitor.
Loading a cached website is much quicker, and it's a great trick you can use to make everything work more smoothly without investing in any new servers or sophisticated tools.
This whole thing sounds fairly technical, but the actual implementation is easy:
If your site runs on WordPress, you can use any of the popular caching plugins and achieve good website speed optimization. All of them work on autopilot, requiring only minimal initial setup.
🚀 Here's a comparison of the best caching plugins.
🚀 Here's a tutorial on how to install W3 Total Cache and get it configured on your site.
6. Remove plugins you don't need
Okay, we all know that installing new WordPress plugins can be fun, and it's a great way to get new features onto your site – ultimately letting you transform it into something really unique.
That being said, you shouldn't go overboard with plugins. Each new plugin will impact the load time of your site and contribute to the overall page size.
Read: each new plugin will make your site a tad bit slower (unless it's a performance plugin, like a caching plugin or image optimization plugin).
There are three things you should do:
- Only install plugins for features that are absolutely critical to your site.
- Don't install multiple plugins doing the same thing. For instance, you really don't need three separate SEO plugins. One is enough.
- Remember to deactivate and delete plugins you don't use.
7. Keep everything up to date
This is a no-brainer, but it's still worth mentioning. Keeping your WordPress core, theme, and plugins up to date is crucial for both security and performance.
Developers regularly release updates that include performance improvements, bug fixes, and security patches. By staying current, you ensure your site is running at its optimal speed and security level.
To check for updates:
- Go to your WordPress admin dashboard
- Look for the "Updates" menu item
- Review and apply any available updates
Pro tip: Always backup your site before applying updates, especially major version changes.
8. Optimize your database
Over time, your WordPress database can become cluttered with unnecessary data like post revisions, spam comments, and transients. This can slow down your site's performance.
Here's how to optimize your database:
- Install a database optimization plugin like WP-Optimize or WP-Sweep
- Clean up post revisions, spam comments, and transients
- Optimize database tables
- Schedule regular cleanups
Important: Always backup your database before running any optimization tools.
9. Optimize your JavaScript and CSS
JavaScript and CSS files can significantly impact your site's load time. Here's how to optimize them:
- Minify your JavaScript and CSS files
- Combine multiple files into single files
- Defer non-critical JavaScript
- Use a CDN for serving these files
You can use plugins like Autoptimize or W3 Total Cache to handle these optimizations automatically.
Pro tip: Test your site after enabling these optimizations to ensure everything still works correctly.
10. Use a CDN
A Content Delivery Network (CDN) is a network of servers distributed across different locations worldwide. When you use a CDN, your website's static files (images, CSS, JavaScript, etc.) are served from the server closest to your visitor's location.
Benefits of using a CDN:
- Faster page load times
- Reduced server load
- Better handling of traffic spikes
- Improved global accessibility
Popular CDN options for WordPress:
- Cloudflare (Free tier available)
- StackPath (formerly MaxCDN)
- KeyCDN
Conclusion 🎯
Optimizing your WordPress site's speed is an ongoing process that requires attention to multiple aspects. By following these steps, you can significantly improve your site's performance and provide a better user experience.
Quick checklist to remember:
- Run speed tests regularly
- Choose a reliable web host
- Use an optimized theme
- Optimize your images
- Set up caching
- Remove unnecessary plugins
- Keep everything updated
- Optimize your database
- Optimize JavaScript and CSS
- Use a CDN
Take control of your media lifecycle
Join 200,000+ websites delivering optimized media experiences with Optimole
No credit card required – Get started instantly!